,lexia 3,ca n clip
get obd2 diagnostic tools - diyobd2.fr,lexia 3,ca n clip
get obd2 diagnostic tools - diyobd2.frLexia 3 Diagbox 7.57 “Entry Point Not Found” error
Problem:
When tried to install lexia 3 cable with lexia / PP2000 / Diagbox version V7.57 software update, I had " Entry Point Not Found error". I changed another laptop, but still the same error.
"Le point d'entrée de procedure ...
Introuvable dans la bibliotheque de liens dynamiques
" The procedure entry point ...
Not found in the library of dynamic links
XML TraceGenU-vc80.dll "
Error screenshot:

Solution:
Change another laptop running Windows XP mode, not VMware, follow the lexia-3 xs-evolution PP2000 7.57 Diagbox video installation instruction Strictly below:

NOTE:
No anti-virus software programming before installation.
Diagbox 7.57 requires activation, please send the activation code to us to activate.
Ceci est du site Web du support technique Outil de diagnostic OBD2 : Lexia 3 Diagbox 7.57 "Entry Point Not Found" Erreur
How to install Renault CAN CLIP V157 on Windows XP
This is about Renault CAN CLIP V157 installation on Windows XP:
Free download CAN CLIP 157:
Tested with clone CAN CLIP diagnostic tool for Renault by diyobd2.fr
Operating system:
Windows XP
Language:
German, Danish, Spanish, Finnish, French, Italian, Norway, Dutch, Portuguese, Romania, English, Swedish
video guide:
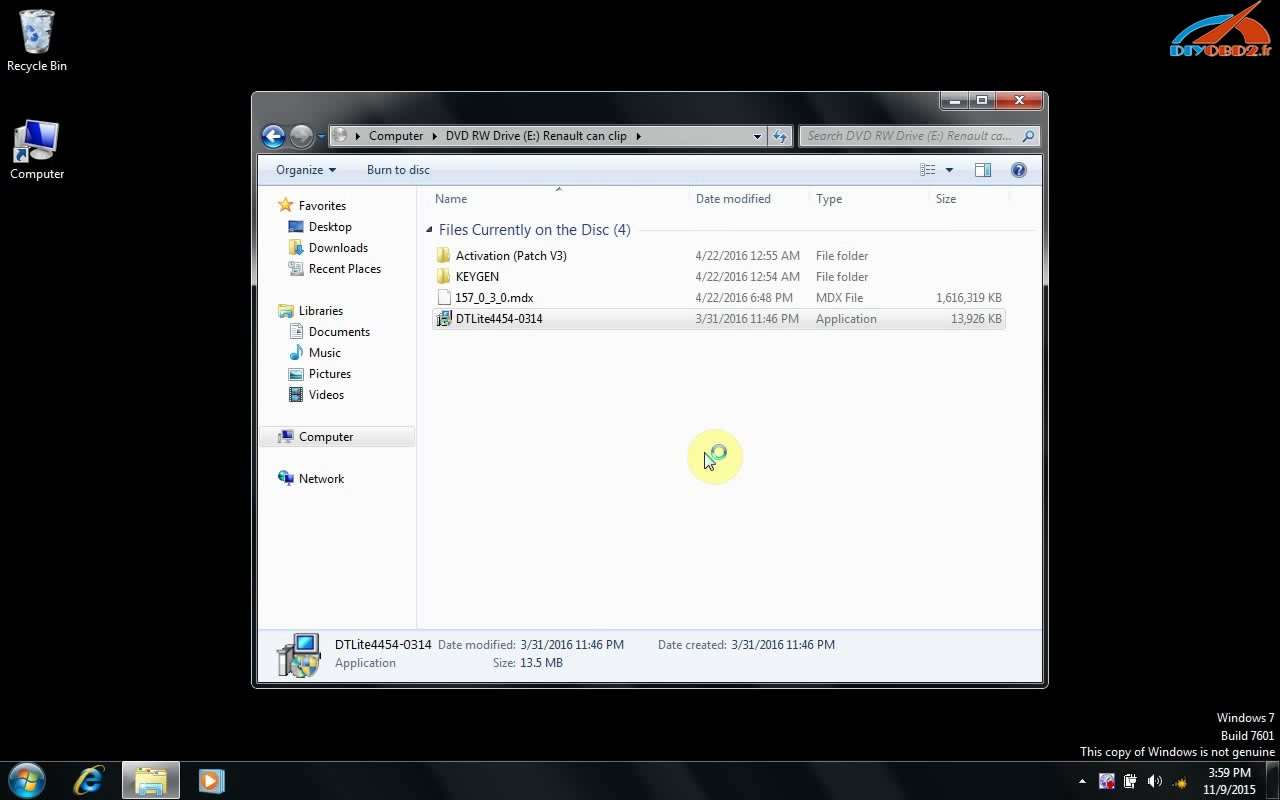
Step 1 - install DAEMON Tools
open Renault CAN CLIP 157 DVD ROM E:
run "DTLite4454.0314" to install DAEMON Tools
language setup
accept license agreement
select a license type: free license
choose components
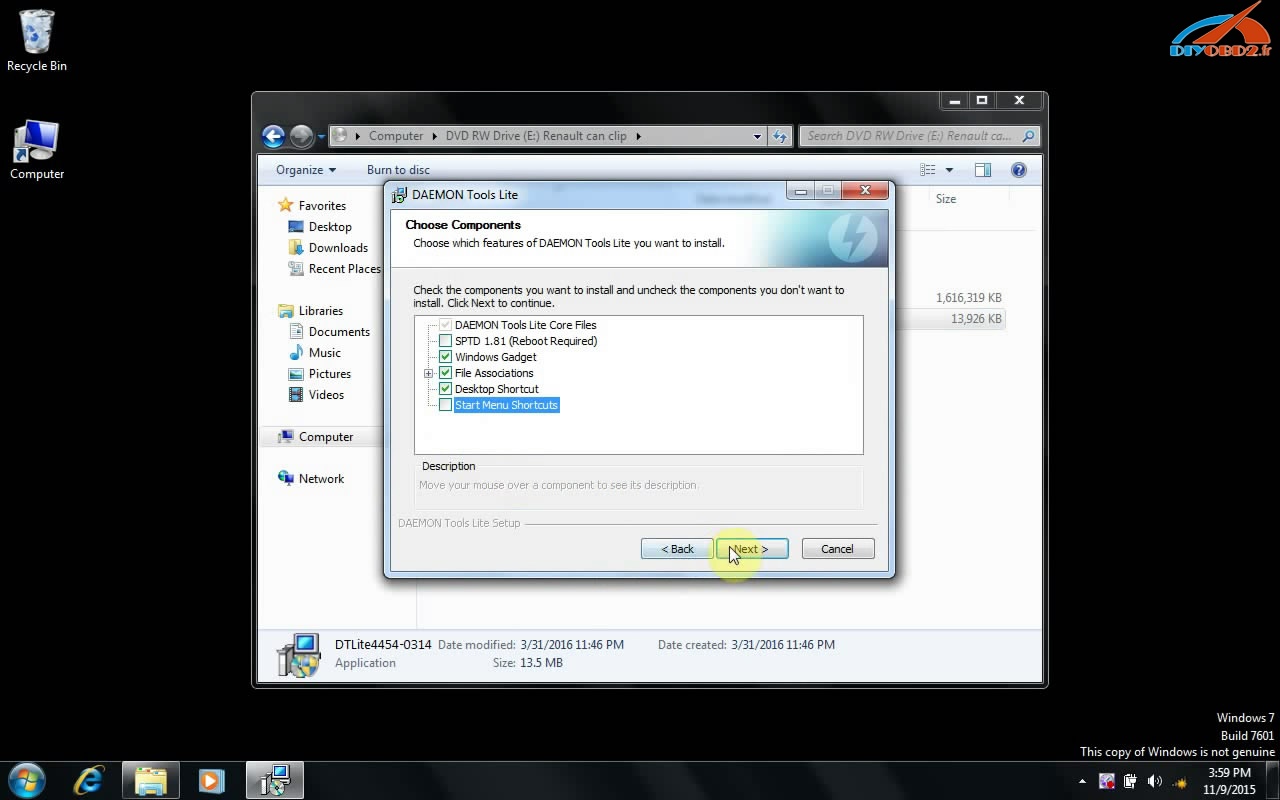
allow mount space to use my mount statics
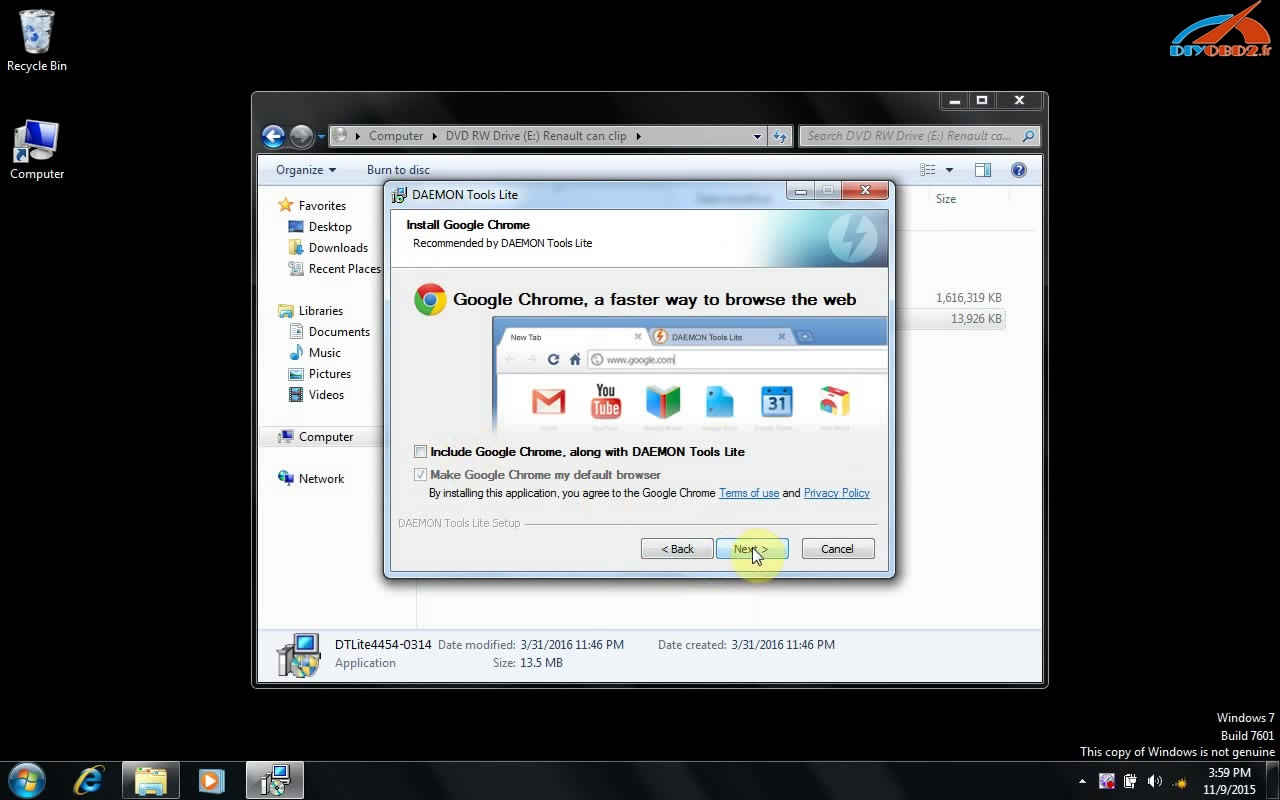
follow the screen instruction (click next)
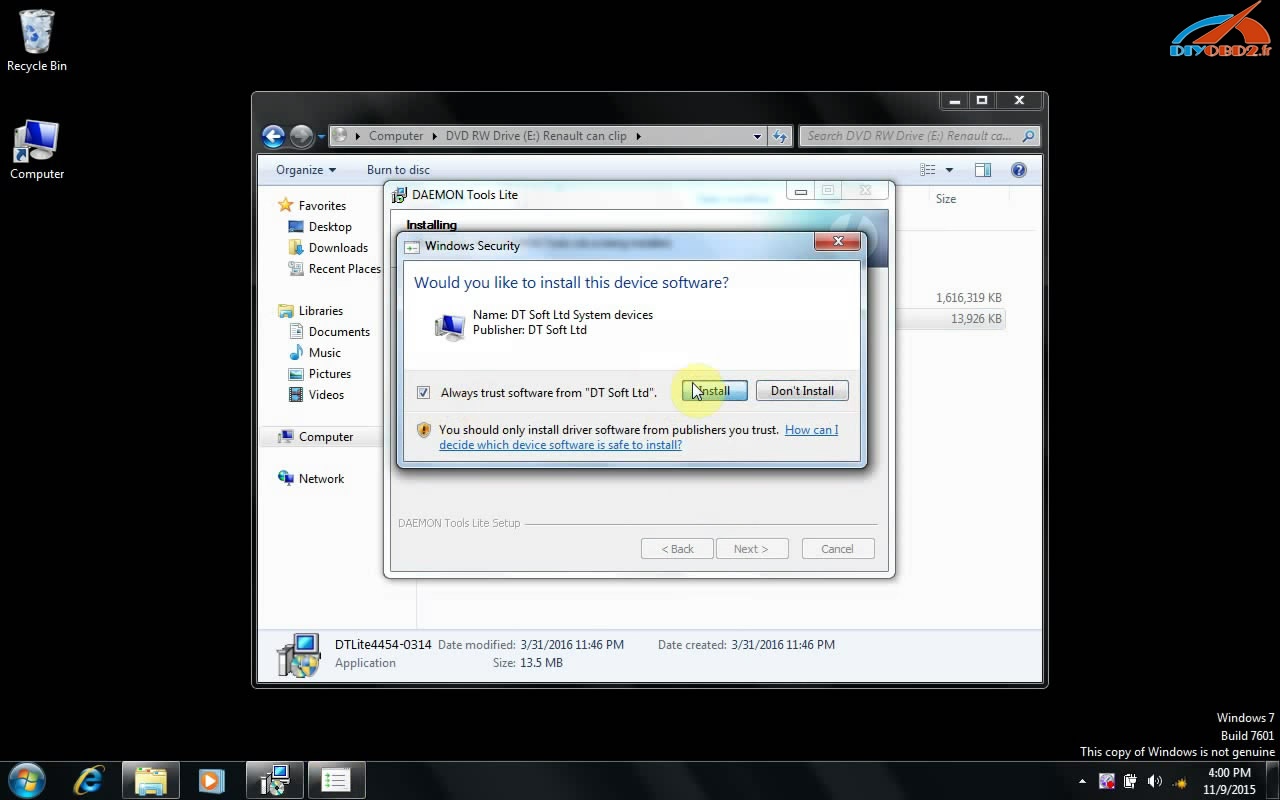
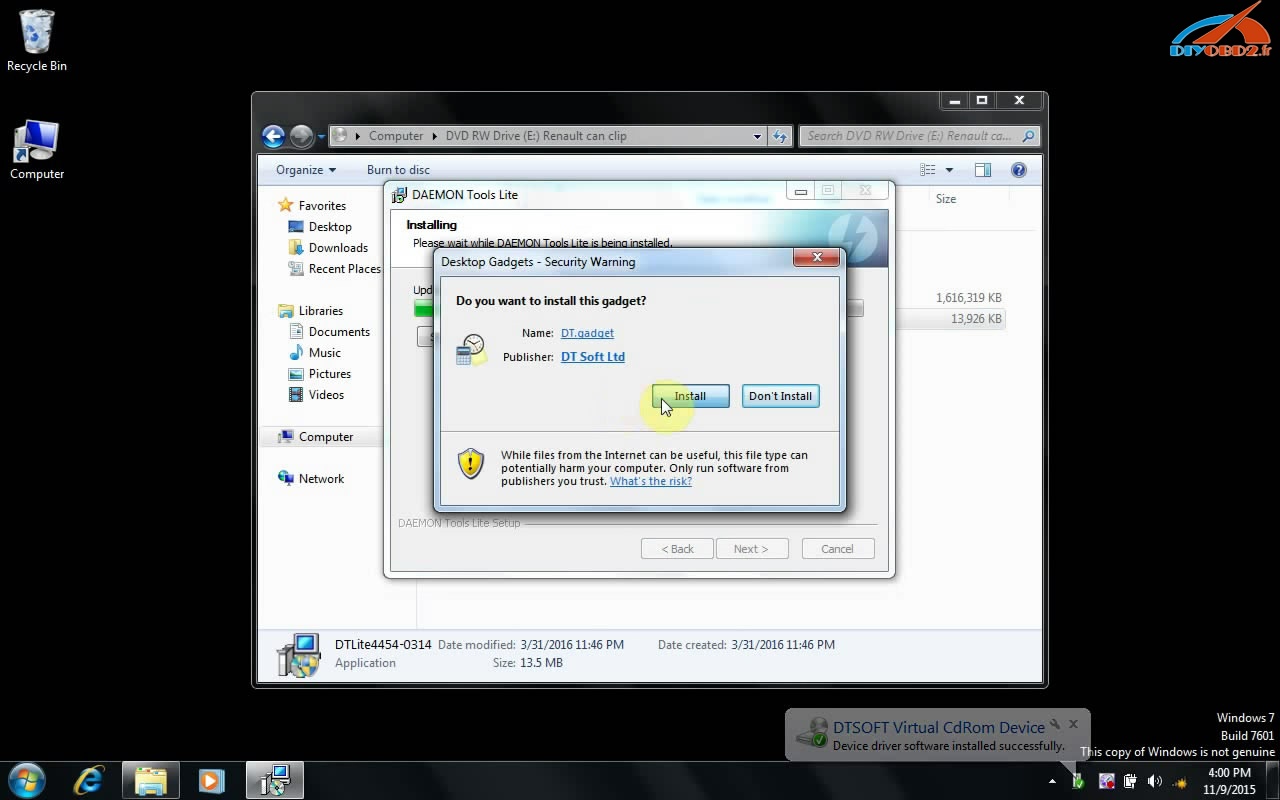
always trust software to install
install DT gadget
DAEMON Tools complete.
run DAEMON Tools Lite automatically (minimize it)
open "Activation (Patch V3)"->Crack Renault CLIP
add image in DAEMON Tools Lite
(computer/DVD RW/157_0_3_0)
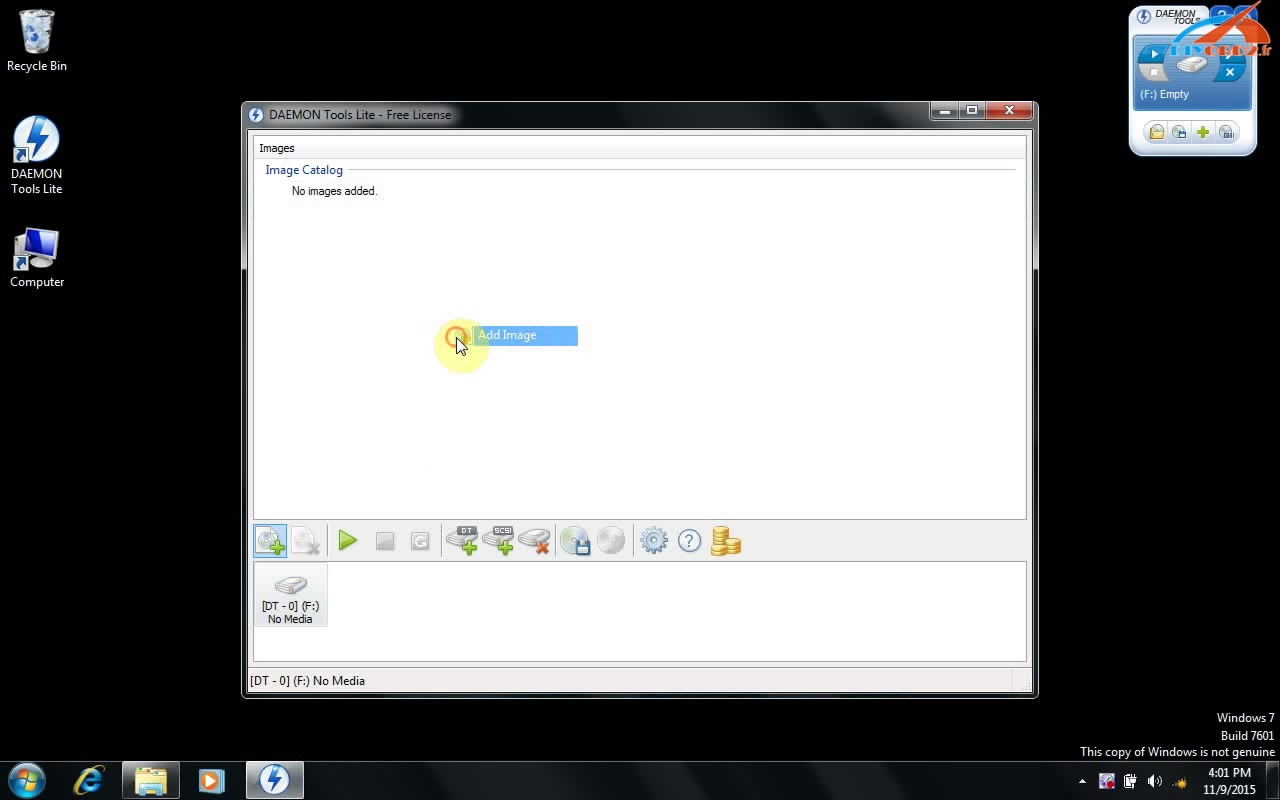
mount 157_0_3_0.mdx
minimize AEMON Tools Lite and close other interfaces
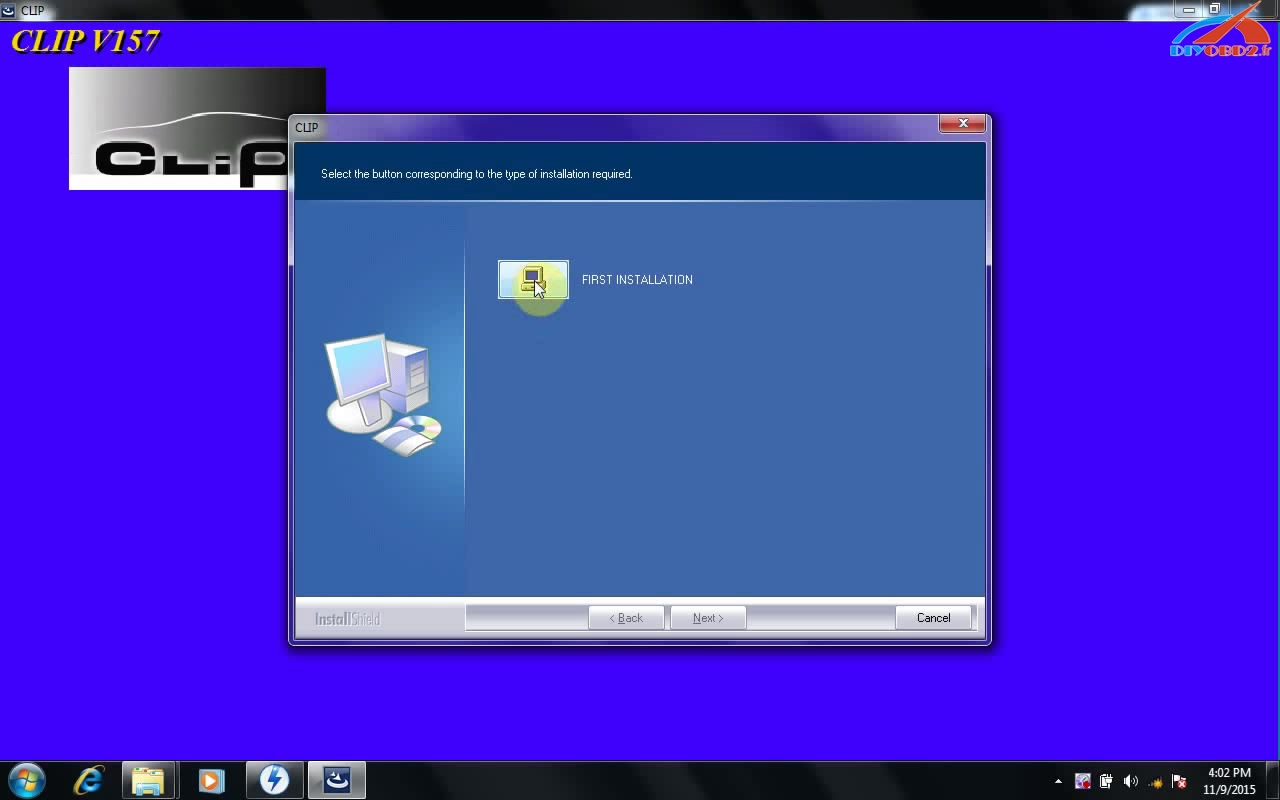
Step 2 - install CLIP V157
open BD ROM F: 157_0_3_0
open "setup" application
First installation->next
accept the agreement
select the country
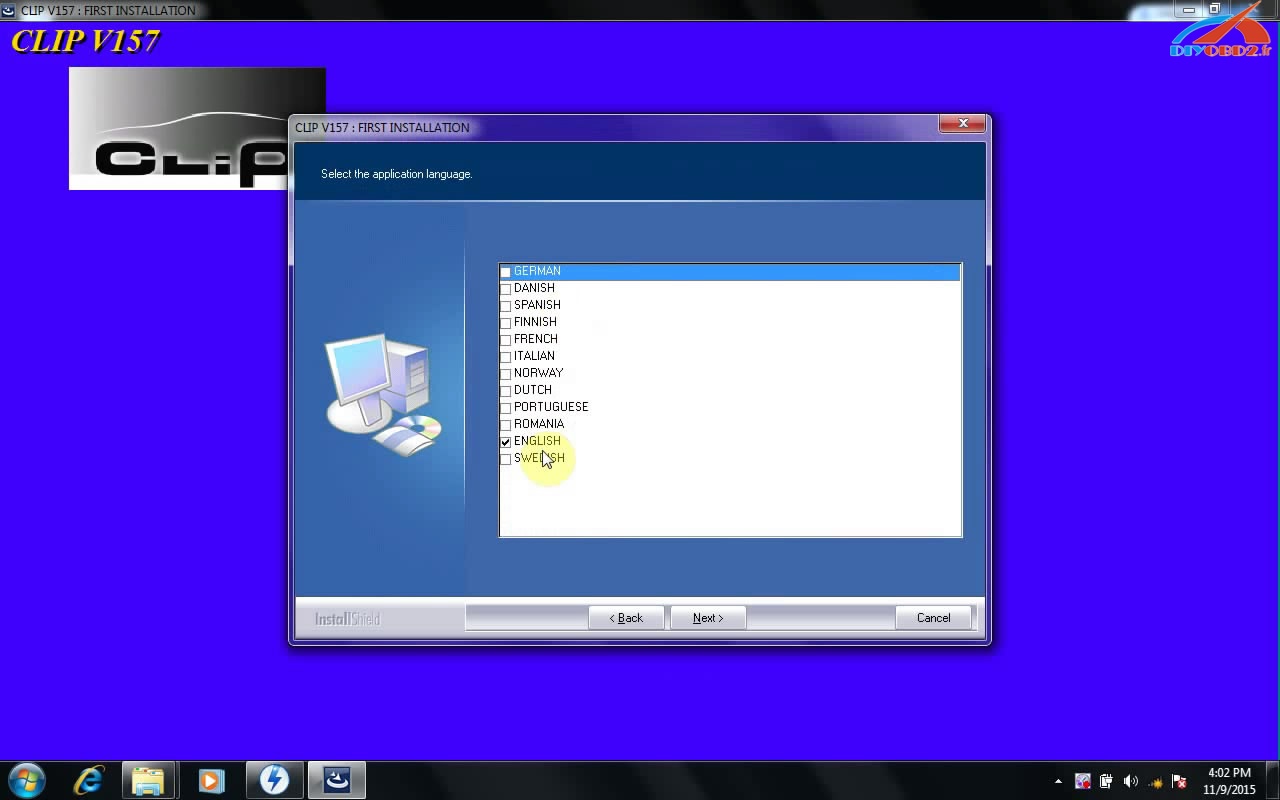
select clip v157 language
select Renault
review settings and go next
always trust software to isntall
installing
restart the platform automatically
computer reboots automatically
CLIP V157 first installation complete

Step 4 - register CLIP V157
open CLIP properties on Desktop
open files in Local disk C:/CLIP_X91/Lib/Application
cut "RSRWin" application and paste it on Desktop
open Renault CAN CLIP 157 DVD ROM E:/Application
copy "RSRWin" application to paste it in Local disk C:/CLIP_X91/Lib/Application
then open the "RSRWin" application
Register me now
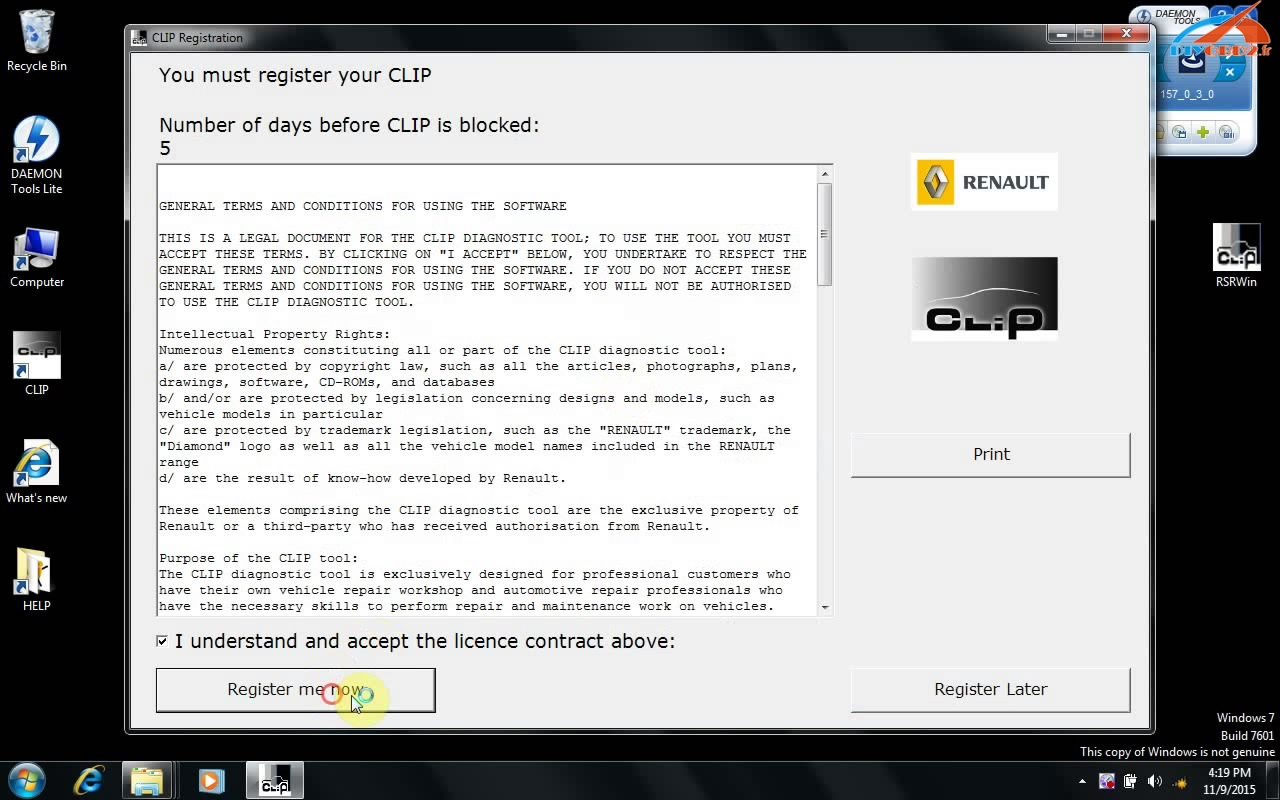
are you part of the Renault Network?
NO!
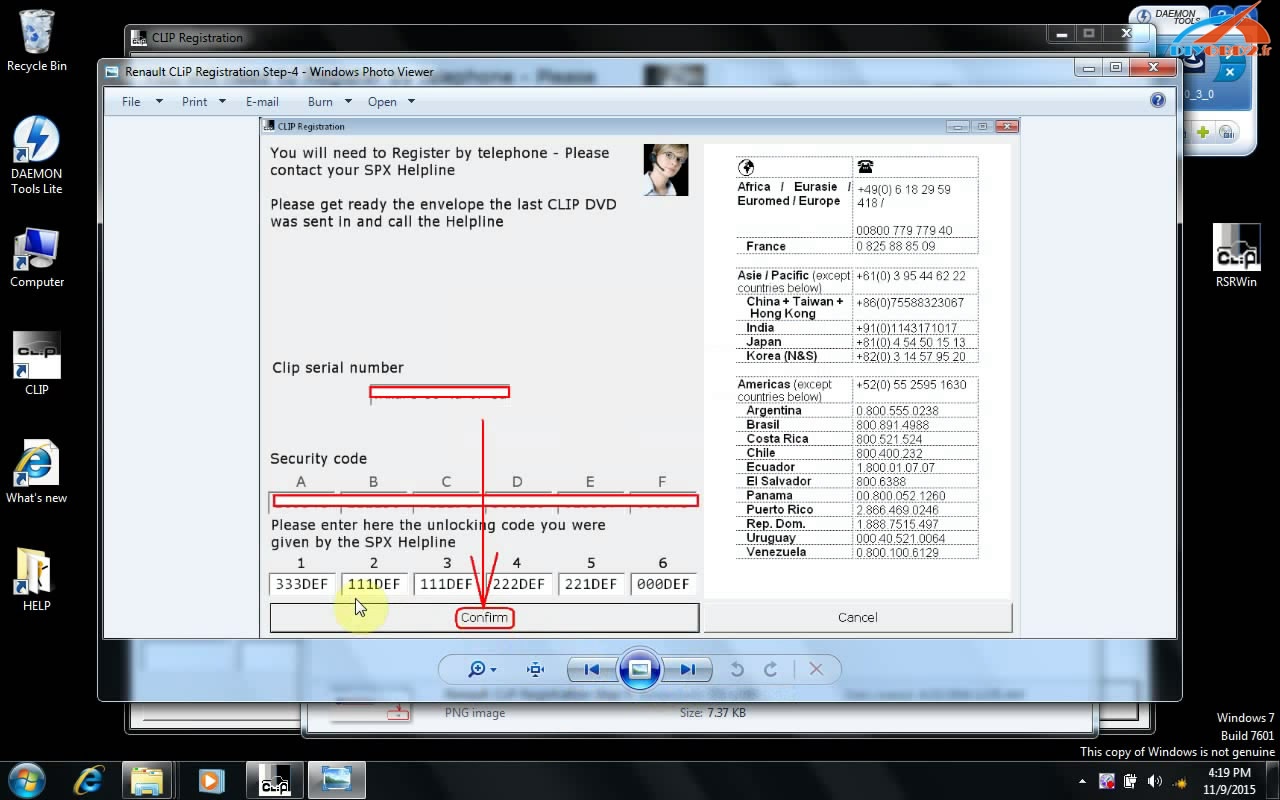
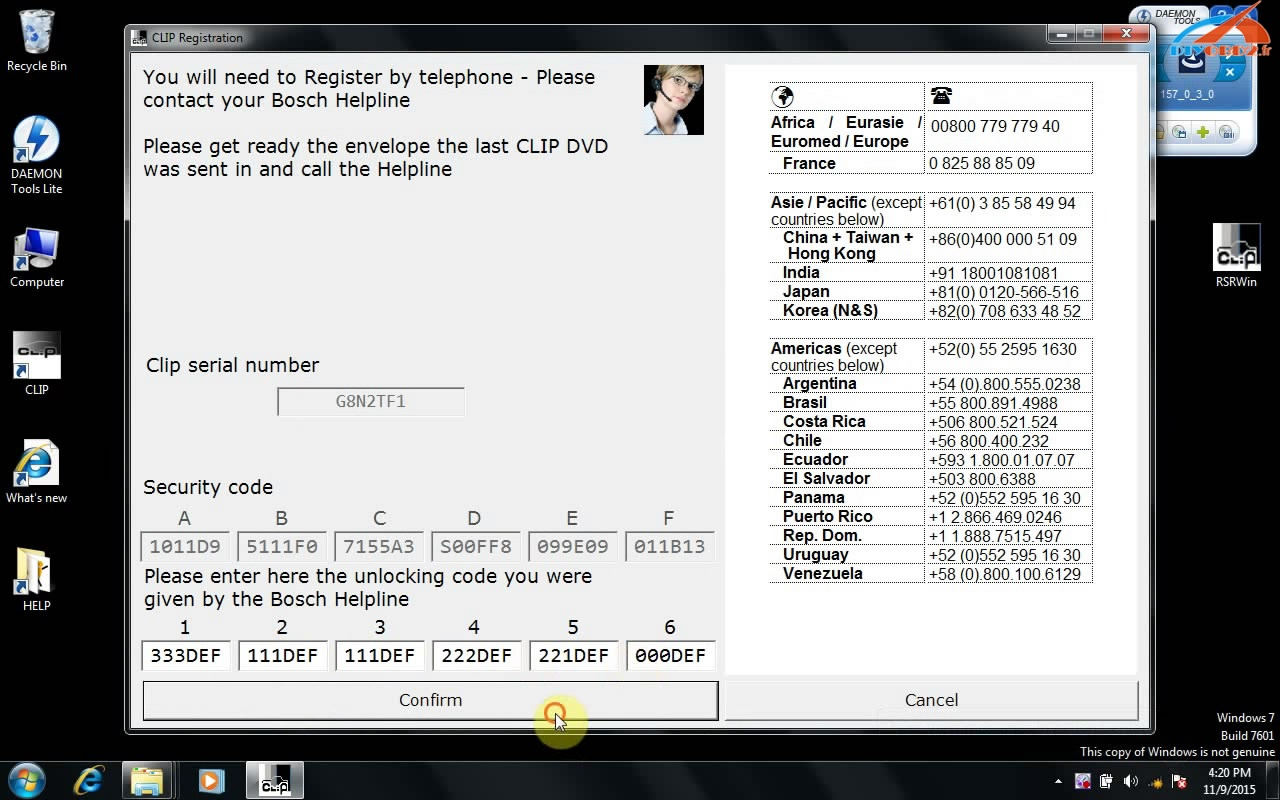
open the picture named "Renalut clip registration step 4" for clip registration
registration successful
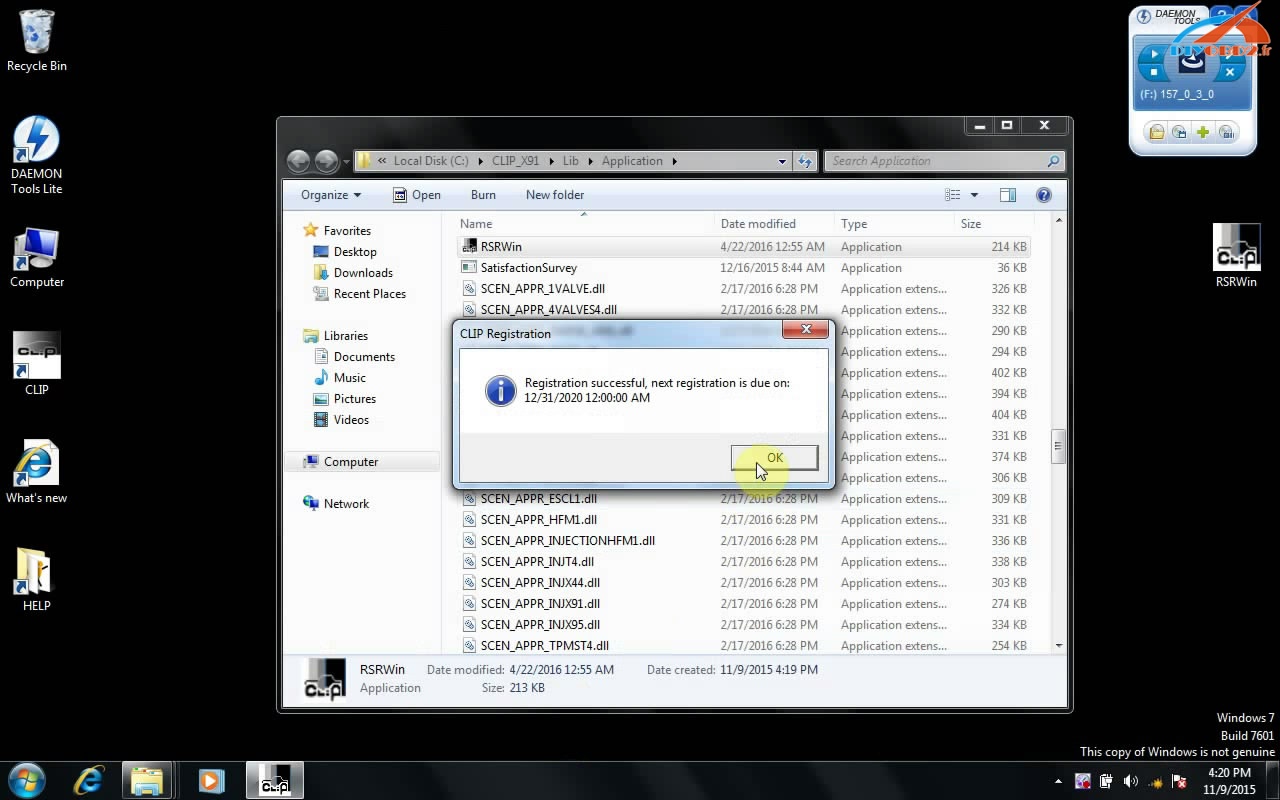
cut "RSRWin" application from Desktop to Local disk C:/CLIP_X91/Lib/Application (move and replace)
automatically installing device driver software
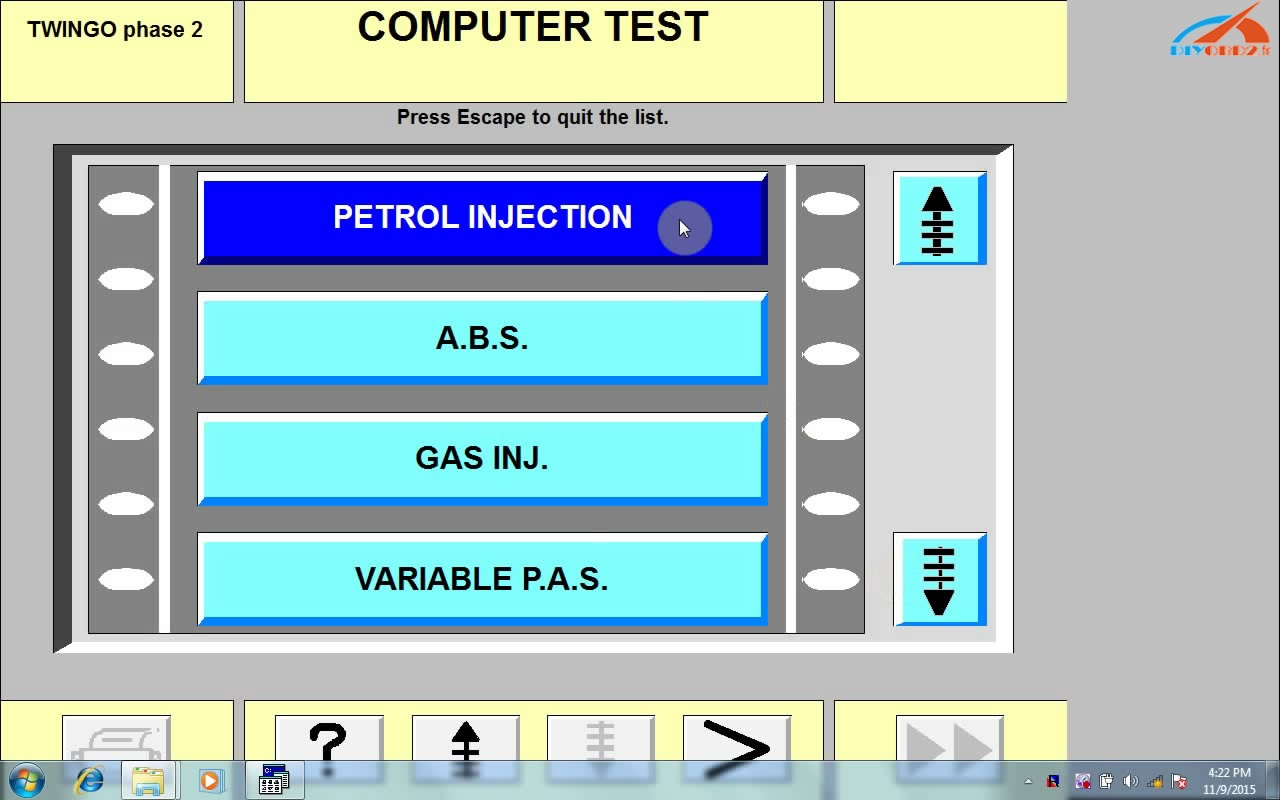
Step 4 - diagnose TWINGO PHASE 2 with Renault CAN CLIP diagnostic interface 157
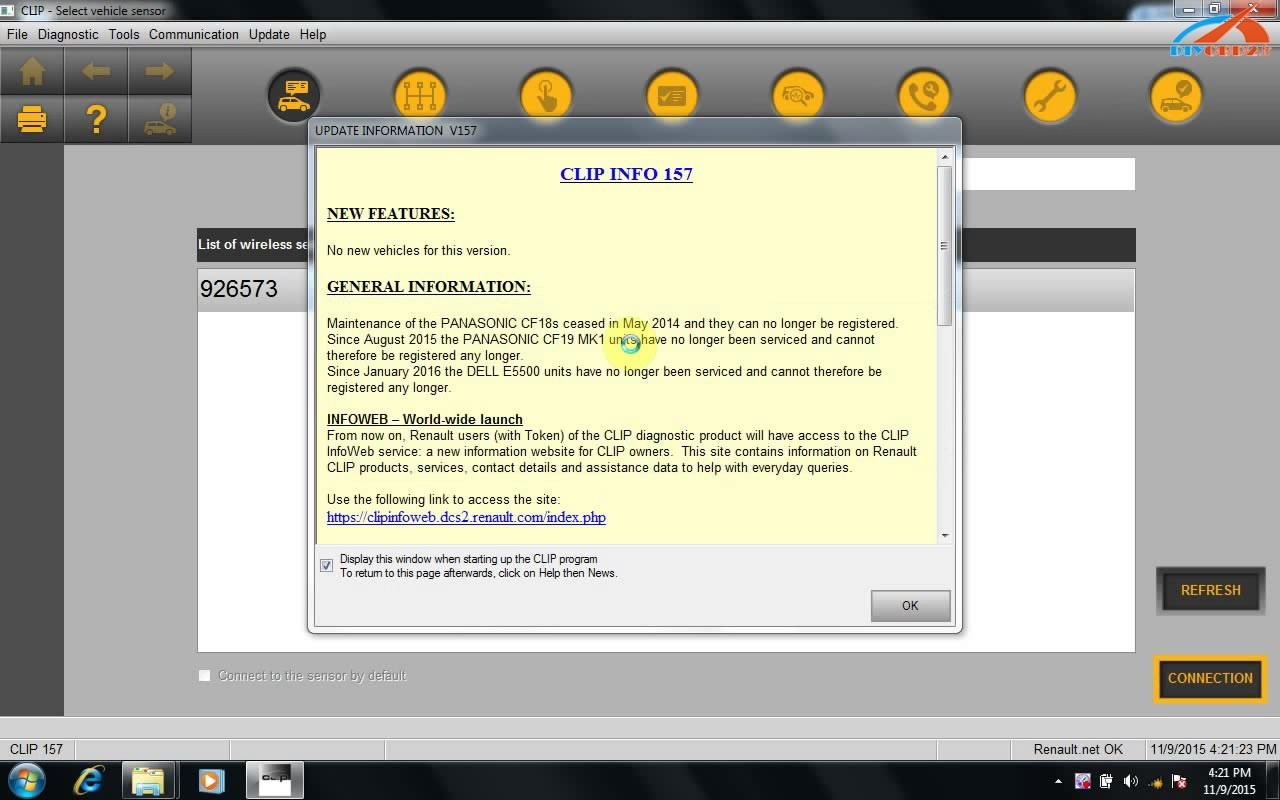
run CLIP on Desktop to diagnose TWINGO PHASE 2
cancel windows security alert
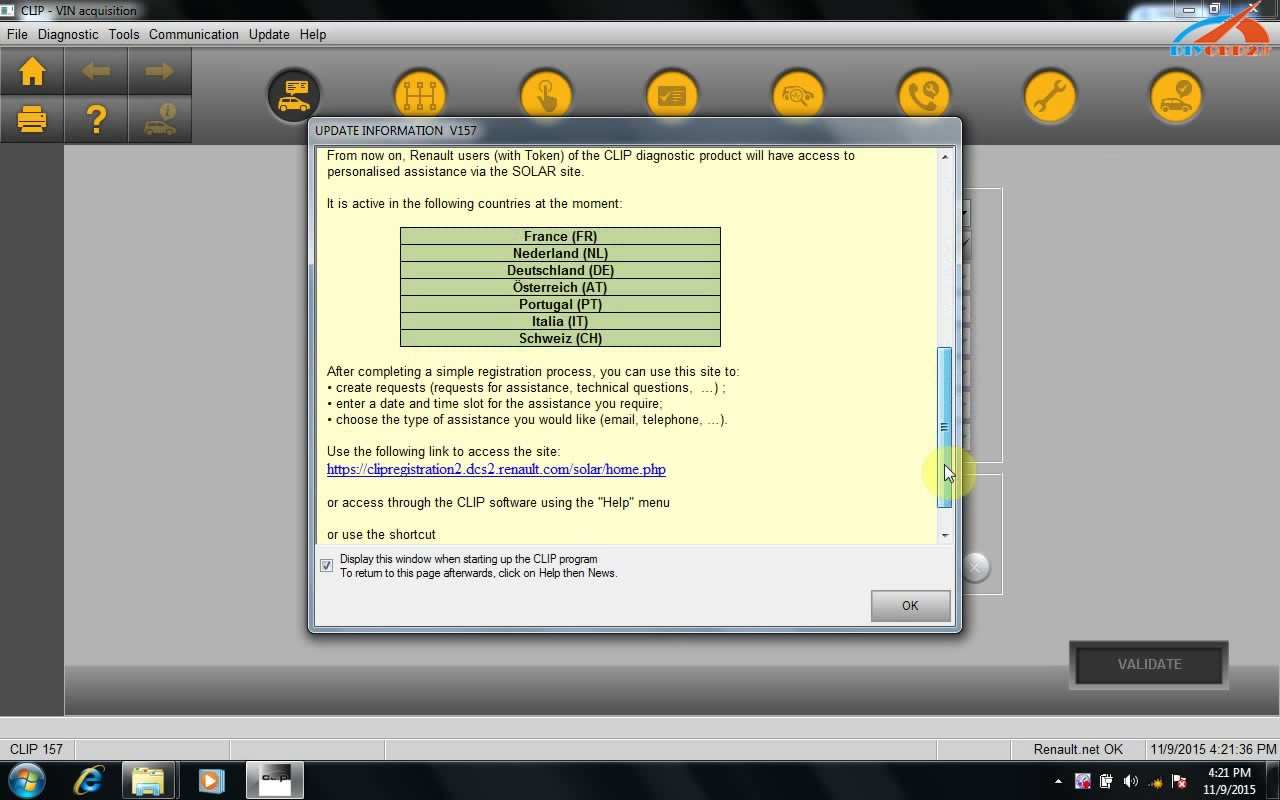
CLIP INFO 157
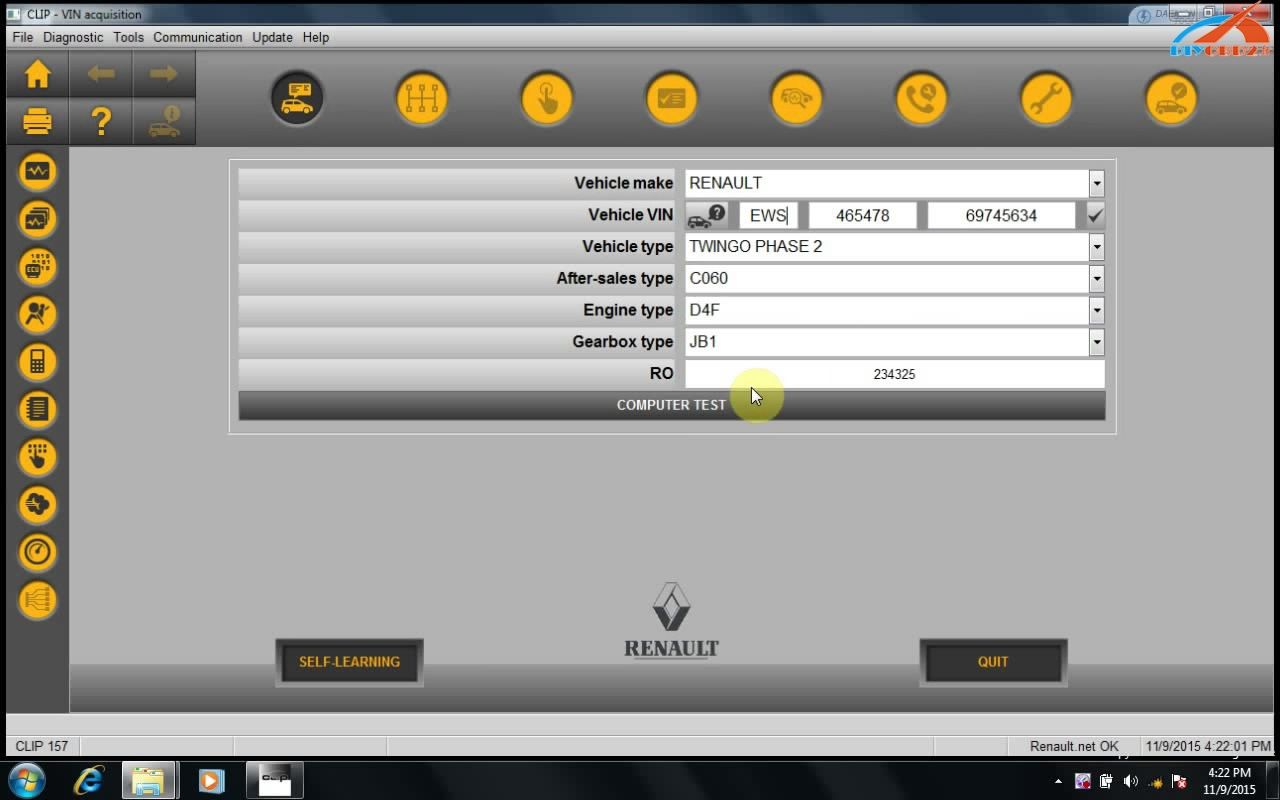
finish vehicle info for computer test
cancel windows security alert


....
Disclaimer:
All above is only for China clone Renault CAN CLIP diagnostic tool
Ceci est du support technique du site Web OBD2 Outil de diagnostic:Comment installer Renault CAN CLIP V157 sur Windows XP
How to install Opcom OP-COM 2010V firmware V1.59 software
Good News!!! China clone Op-com 2010V USB interface diagnostic scanner firmware has updated to V1.59. Here is the step-by-step instruction on how to install opcom 1.59 software.
Software version (SW): 08/2012
Firmware version (FW): V1.59
1) Install op com en francais driver
Open My Computer
Open OP-COM (E:) CD software
Create a new folder “op-com” on Local Disk (C:)
Copy all files in OP-COM CD to the “op-com” folder

Send OP-COM Diagnostic software to Desktop (create shortcut)
Connect OP-COM V1.59 interface with computer via USB port
Wait the system to detect hardware wizard
Select “Install from a list or specific location (Advanced)”, click “Next”

Include and browse location to C:﹨op-com﹨Drivers, click OK

Click “Next”
Click “Next”
Click “Finish” when opcom driver is completely installed

Open My Computer>>Manager>>Device Manager>>Universal Serial Bus controllers>>USB Serial Converter to make sure well communication is built

2) Run Op-com software and diagnose
Plug the op-com cable with vehicle via OBD diagnostic socket
Open “Shortcut to OP-COM” software on desktop
OPCOM CHINA-CLONE 08/2010
Click “Settings”

Click “Test Interface”, you will able to see the OPCOM serial number and firmware version V01.59
Click “Close”

Click “Save Config”
OP-COM Configuration saved! Press “OK”

Back to Opcom software main menu
Select “Diagnostic” function
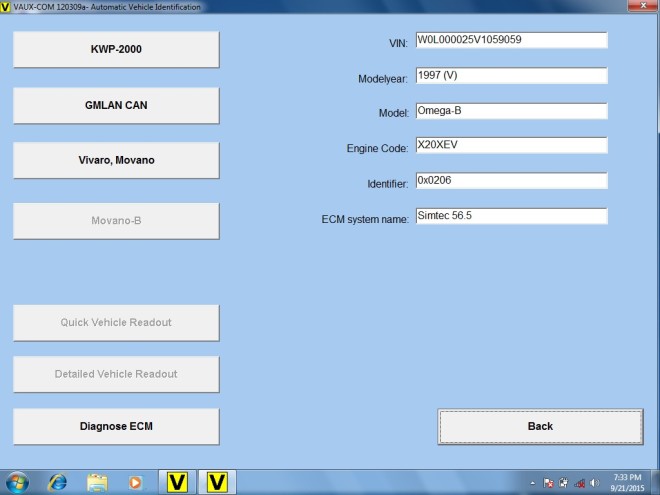
Select “Automatic Vehicle Identification”

Select “KWP-2000” (K-line) or “CAN” and select diagnostic connector

The op-com 2010V software will display vehicle information, VIN, model, engine code etc

Click “Diagnose ECM” button
Select ECM type and diagnostic connector
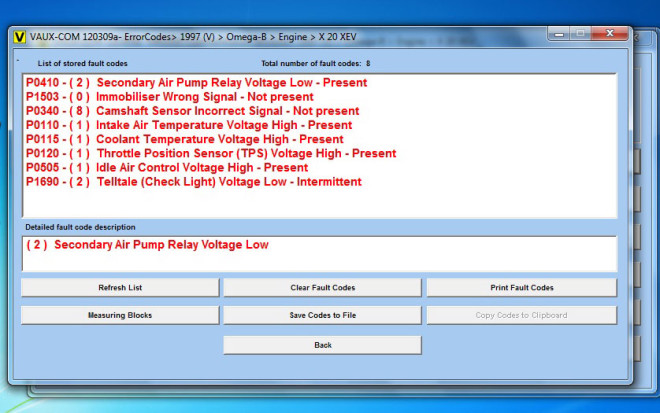
Click “Fault Code”
Op-com will display all error codes stored in ECM
The click “Clear Fault Codes” to erase error codes
Perform other diagnostic functions or exit the software program
Unplug the op-com USB interface.
Ceci est du support technique du site Web Appareil Diagnostic Auto:How to install Opcom OP-COM 2010V firmware V1.59 software
Newest Opcom V2012 Free Download
Op-com software nowadays has updated to version 2012. Here, diyobd2 offers the newest software Opcom V2012 for you to free download.
Software (VAUX-COM_120309a.exe) free download link: https://www.dropbox.com/s/ieoou37sqcg9b19/OP-COM_120309a.zip?dl=0
Version 2012 can be suitable for op com en francais Hardware V1.59 & V1.45
Note:
1. Laptop with Win XP/ Win 7 must be installed the system patch “dotnetfx35_SP1”; otherwise the software can not run.
2. Users with Win 7 must open the laptop as an administrator, and learn the installation video carefully.
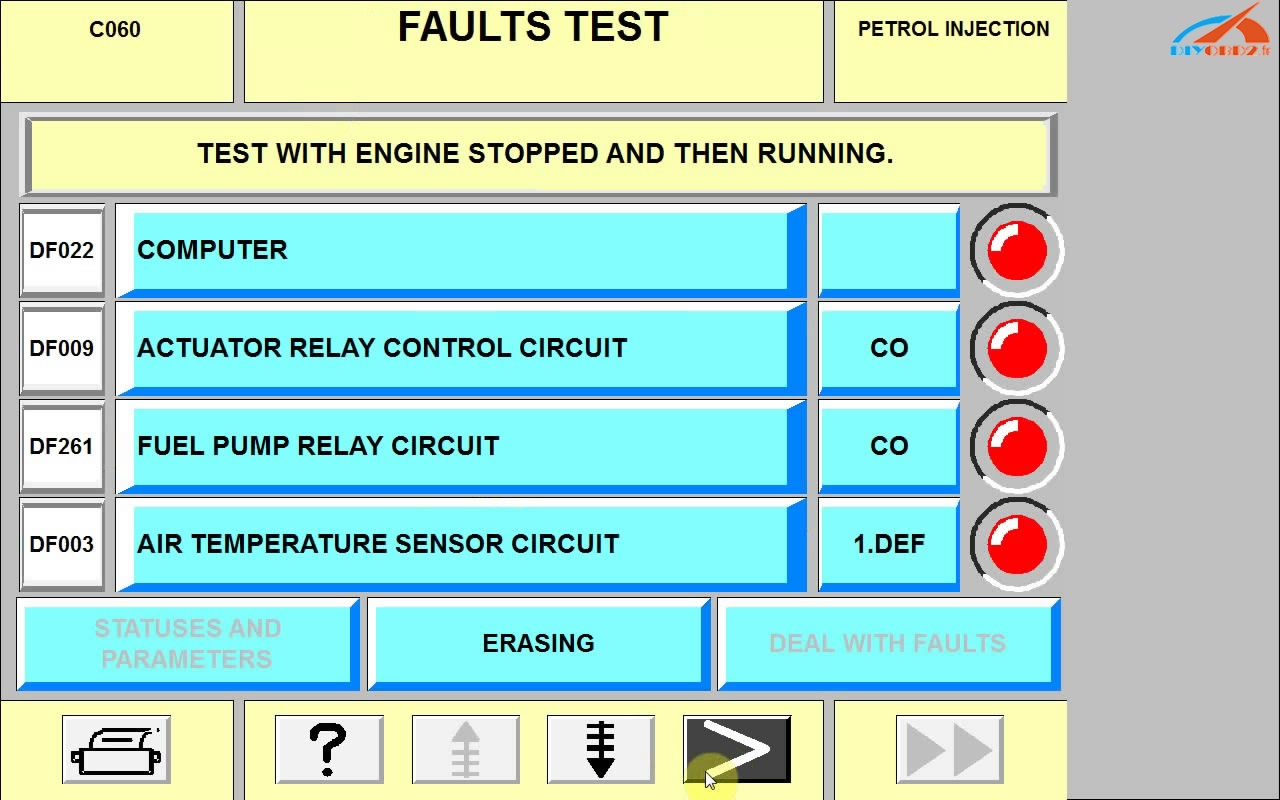
2012V opcom software display:
Main windows:

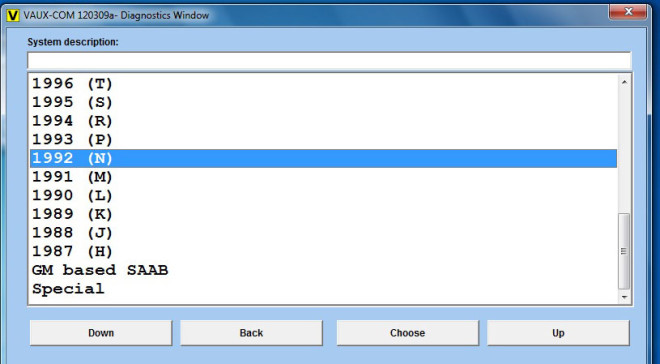
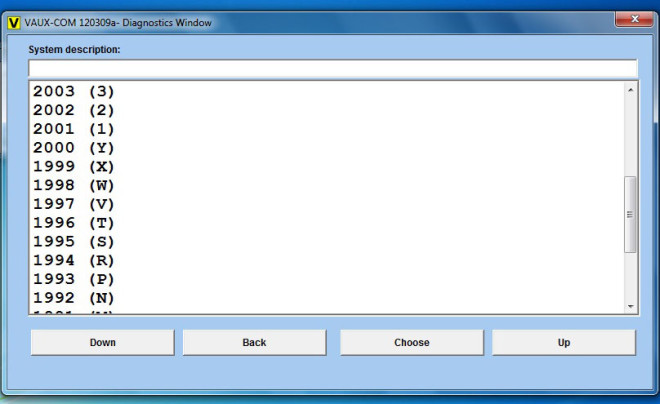
System description:
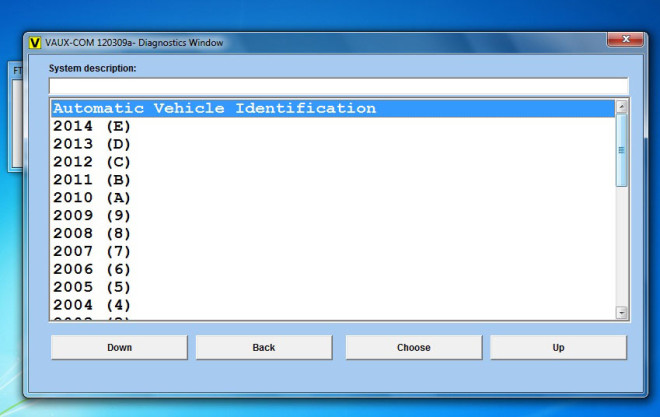
Automatic vehicle identification:
Fault codes:
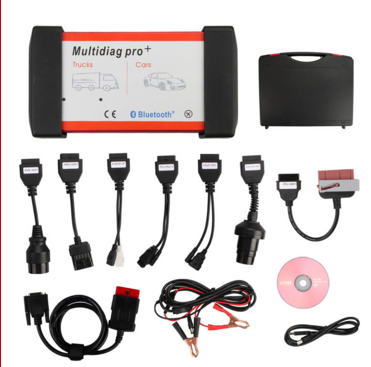
Multidiag Pro DS150 2014 R3 R2 Communication Problem (Fixed)
I just received my Ds150E interface from China and installed WOW 5.00.8 R2 with the help of a forum member.
My DS 150 is rec o Gni z ed as snooper, but no communication is possible with the car. E ven the firmware update is starting, but stops a little bit later with an error. But with D Elphi 2,014 r3 , everything works fine
I use Delphi 2014R2 with the Ds150E. Now, i have installed
wow 5.00.8R2Ger. At starting the software, a message a p pears like: "... snooper ... wrong serial number"
Than, i started Delphi, with the Ds150E connected to a car. In "Settings" - "Hardware setup" i tested the connection with the Ds150E. Than, i noted the displayed serial number of my device
, that is Multidiag pro + Ds150 (single pcb) .
At this time, i modified the file C / wow 5.00.8R2eng / ac_diagnosis_module / data / serial_numbers.txt.
I ad d ed the serial number of my Ds150E tho the text file and saved the file changed. After that, i started
WOW again, and it works!
Ps. A good place to download Delphi 2014.3 and WOW 5.008:
Ceci est du site Web du support technique Outil de diagnostic OBD2 : Multidiag Pro Ds150 2 014 R2 R3 Communication Problem (Fixed)